We are thrilled to unveil the newest pages in our "Ocean Wonders & Sunken Treasures Vol. 2" collection! This time, we are bringing a whimsical twist to the ocean floor. Instead of just focusing on coral reefs, this update introduces a fascinating blend of curious marine life interacting with forgotten human artifacts.
For kids, these illustrations offer a fantastic storytelling opportunity. How did these items get to the bottom of the sea? Who left them there? Let's take a look at some of our favorite new additions and explore a few coloring techniques to make these sunken treasures pop!
Our latest update is packed with imaginative scenes that will spark your child's curiosity.
One of the standout pieces features a beautifully patterned Emperor Angelfish exploring a sunken vintage airplane. The contrast between the organic shapes of the sea anemones and the mechanical structure of the plane provides a unique challenge for young artists.
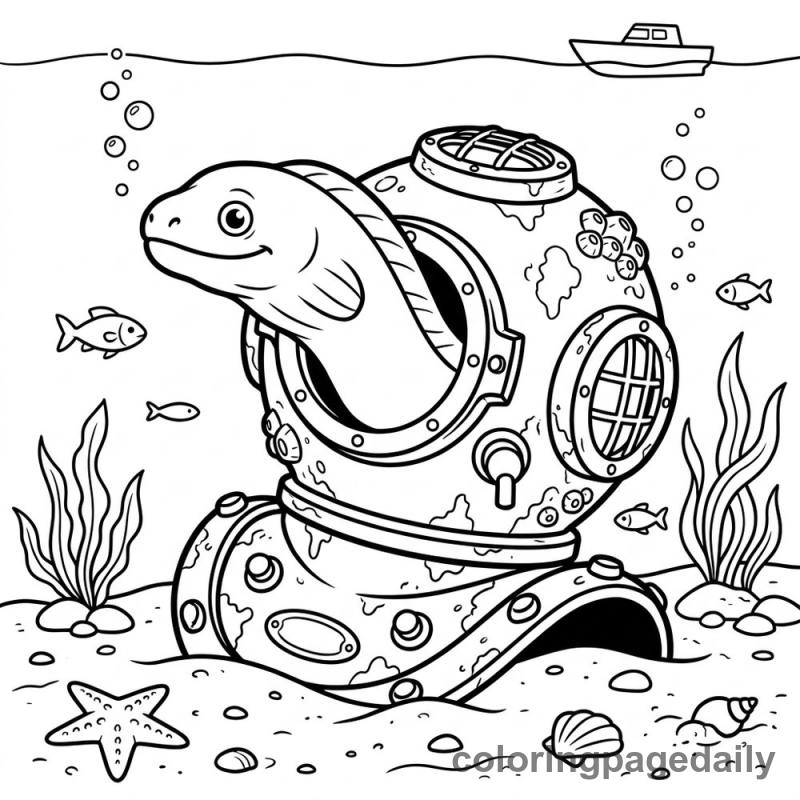
Another charming addition is a curious moray eel that has made its home inside a classic brass diving helmet. It’s a perfect example of how ocean creatures adapt to their environment, turning our lost items into cozy underwater habitats.
Coloring underwater scenes isn't just about the water itself. To help your little artists bring these sunken artifacts to life, try introducing them to these fun texture techniques:
1. Creating Rusty, Weathered Metals When coloring objects that have been underwater for a long time—like the brass diving helmet or our new vintage bicycle page—encourage kids to layer their colors.
Instead of using a solid gray or yellow, they can start with a base of metallic gray or gold, then lightly scribble or smudge patches of burnt orange, rust red, and earthy brown to mimic oxidation and algae growth.
2. Stippling for Sandy Ocean Floors Many of our new pages feature treasures resting on the sand.
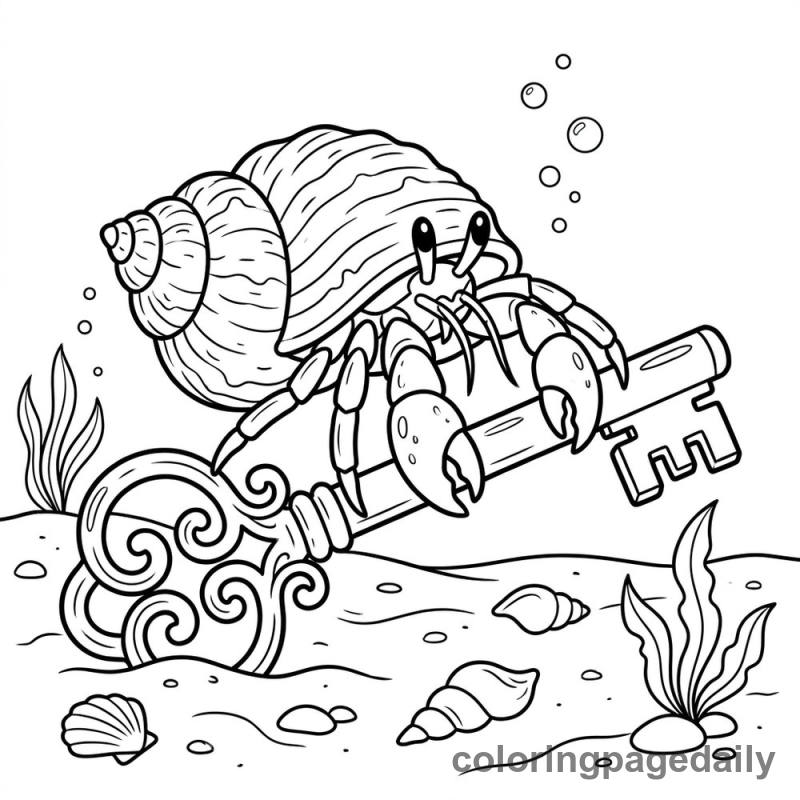
To make the sand look realistic, teach kids the "stippling" technique. Using colored pencils or fine-tipped markers in shades of tan, yellow, and light brown, they can tap the paper to create hundreds of tiny dots. This creates a gritty, textured look that perfectly contrasts with the smooth shells of creatures like our hermit crab.
3. Drawing Underwater Sunbeams To give these scenes a truly magical, deep-sea feel, lighting is key! Kids can use a white colored pencil, a white gel pen, or even a standard eraser to create dappled light rays. Have them draw diagonal, fading lines coming down from the top of the page across the water and the sunken objects. This simple trick adds incredible depth to the artwork.
Grab your favorite coloring supplies, print out these brand-new sunken treasures, and let your child's imagination sail to the depths of the ocean today!
This article is part of Ocean Wonders & Sunken Treasures Vol. 2 — browse all 12 coloring pages