Welcome back to our STEM & Science Discoveries collection! While we've previously covered how to add metallic shines and sense-of-motion effects to your pages, today we are diving into a brand-new set of creative coloring techniques. These tips will help parents and teachers guide older kids (and enthusiastic younger ones!) in adding realistic, eye-catching details to their favorite science scenes.
Here are some of our favorite ways to elevate your STEM coloring pages using everyday art supplies.
Coloring lenses, beakers, and glass requires a fun little trick: leaving empty space! When coloring our magnifying glasses or telescopes, use a light blue or pale gray pencil, but leave a distinct white streak or curved spot completely uncolored. This mimics the bright reflection of light bouncing off a curved surface.
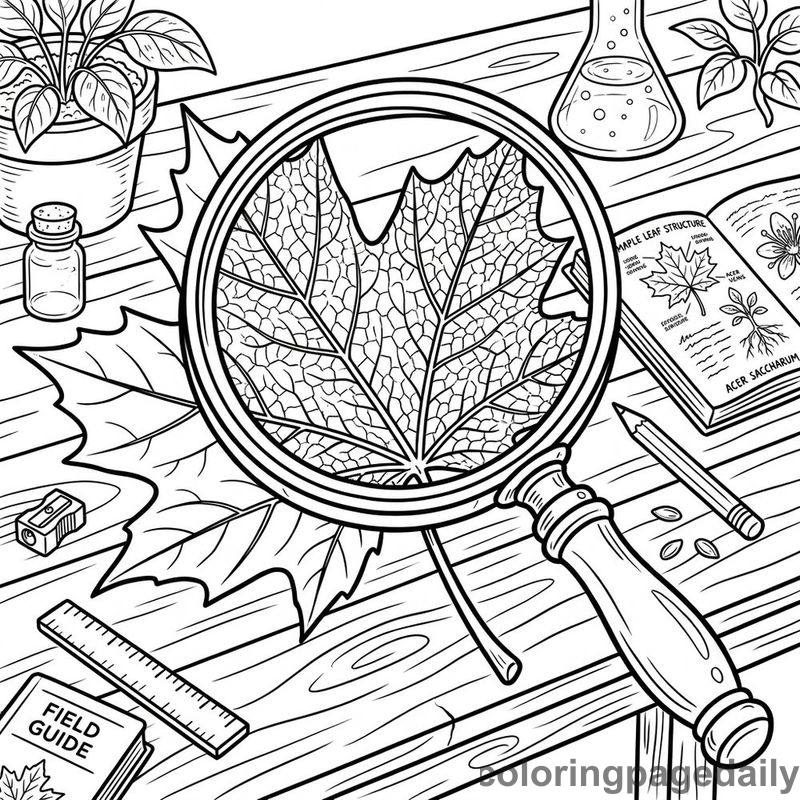
For the leaf underneath the magnifying glass, try pressing a bit harder with your green and yellow crayons inside the lens area. This makes the magnified image look brighter and sharper than the rest of the leaf!
Science isn't always perfectly smooth; sometimes it's chalky, rocky, or highly textured. To make diagrams and mechanical elements look more authentic, introduce your little artists to "stippling" (making tiny dots) or using the side of their coloring tools.

When coloring the chalkboard in this robot scene, try peeling back the paper on a dark green or black crayon and rubbing the long side flat against the paper. This creates a slightly uneven, dusty look—just like a real classroom board! You can then trace over the gear diagrams with a bright white or yellow colored pencil to make the "chalk" pop.
Space exploration is a huge part of our STEM collection, but creating a vast, beautiful galaxy can be intimidating. The secret? Don't just reach for the black crayon!
Start by lightly shading the background with deep blues, indigos, and purples. Once you have a colorful base, gently layer black over the edges and corners to give the universe depth. Pro-Tip: If you accidentally color over the stars in the background, a white gel pen or a tiny dot of white acrylic paint is the perfect tool for bringing those distant suns back to life over dark crayon wax.
For giant engineering marvels, creating a sense of scale and volume is key. Use "gradient shading"—pressing hard on one edge of an object and gradually lightening your pressure as you move across to the other side. This simple shift in pressure makes flat drawings look like 3D cylinders.
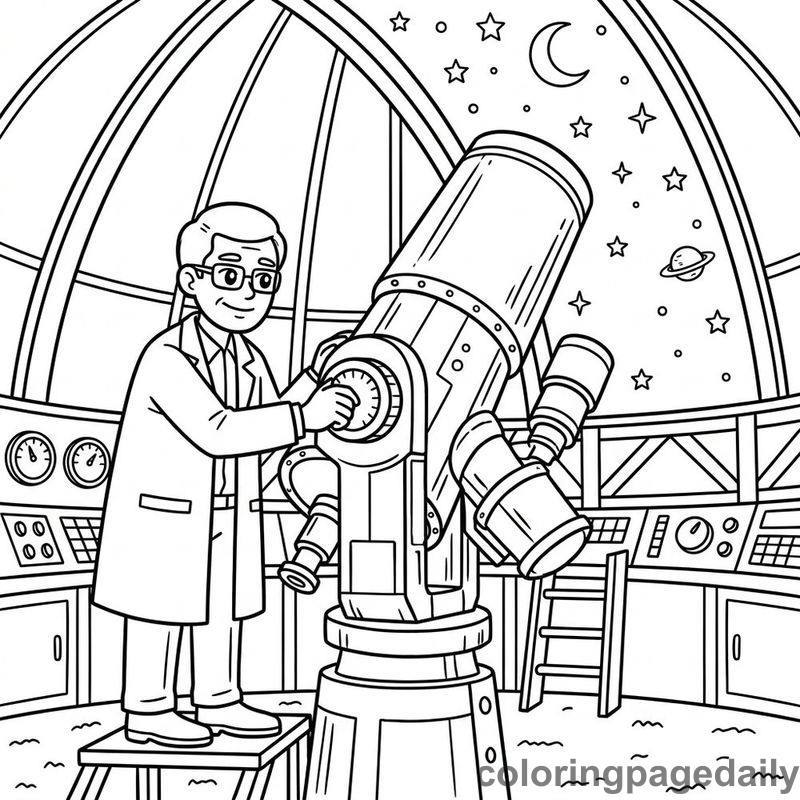
Try this technique on the massive telescope tube! By shading the bottom edge dark gray and letting it fade to a very light silver at the top, the telescope will instantly look round and imposing.
Grab your art supplies, pick your favorite STEM page, and let these techniques inspire a whole new world of colorful discoveries!
This article is part of STEM & Science Discoveries — browse all 19 coloring pages